Blogging 201, Day Eight: Widget Visibility
Widgets: can there possibly be anything left to learn? Yes! Time to dig in to widget visibility.
Today’s takeaway: learn to specify exactly which widgets appear on which posts or pages by using the visibility settings built in to each one.
Action time! Adjust the visibility settings of one of your widgets. You can always undo it, but get a sense of how the settings work.

“I no longer buy papers or tabloids or magazines or read blogs. I used to.” Adele
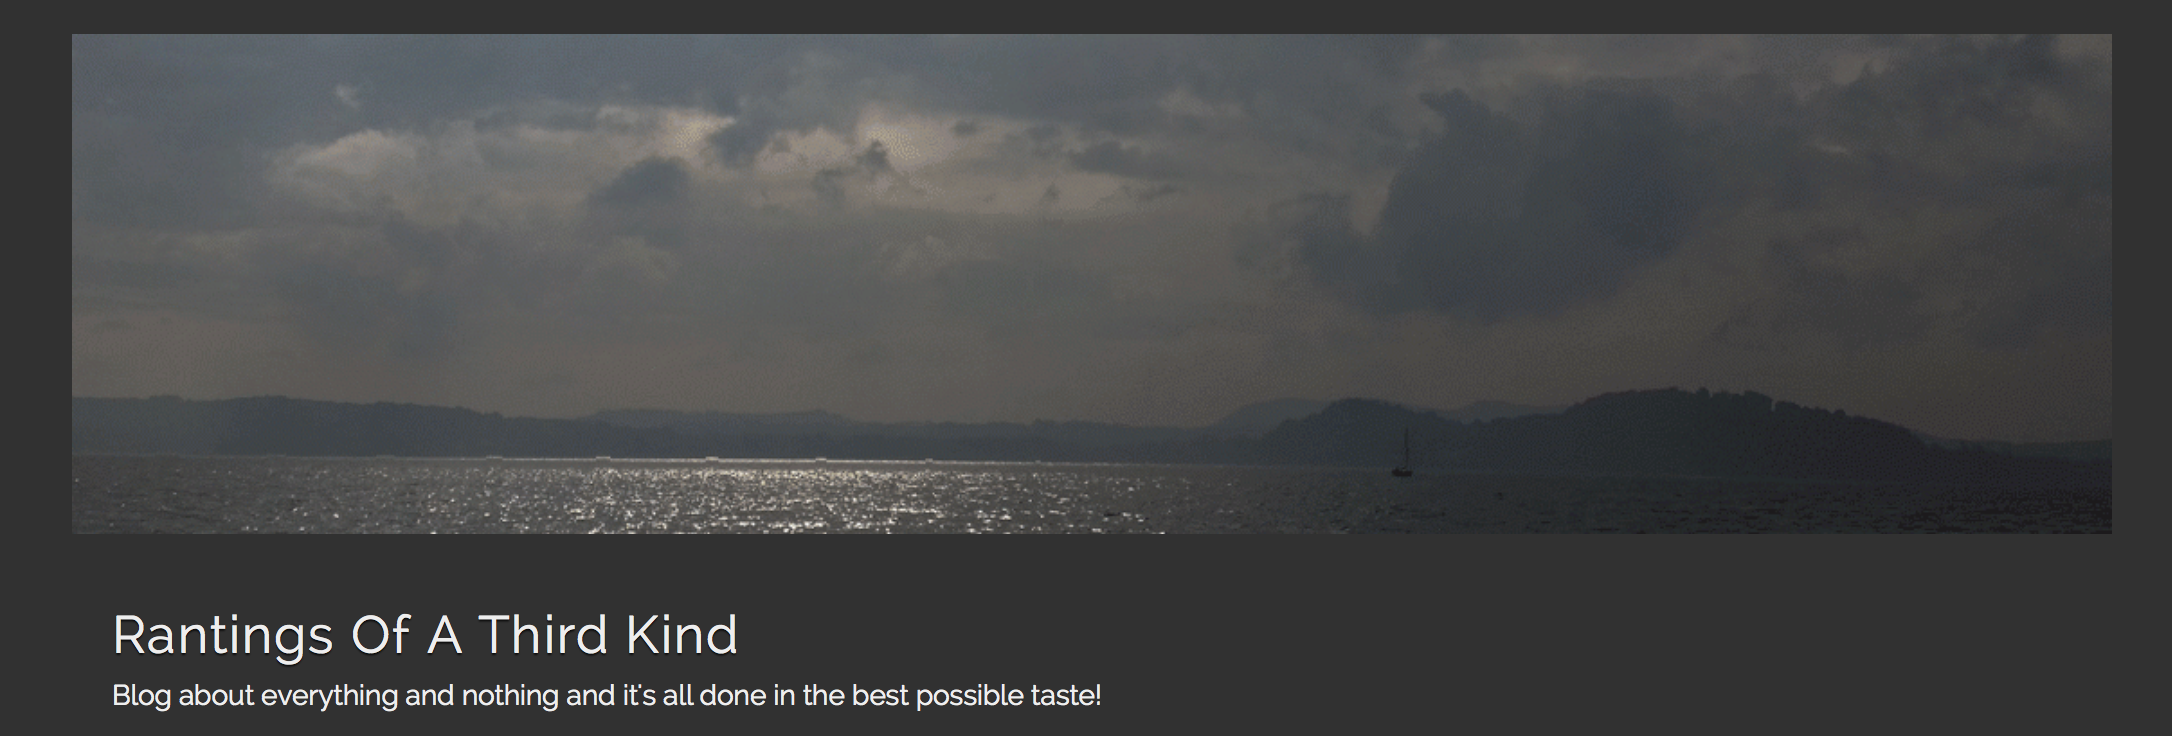
Blogging 201, Day Eight: Widget Visibility
Using widget visibility to your advantage
* Hide your Flickr Widget on posts tagged with “photography” if you don’t want Flickr image thumbnails displayed when visitors are viewing a photo-heavy post. (There is such a thing as image overload!) (Select Hide and add Tag is Photography.)
* If you have a group blog, show the Twitter Widget of the appropriate contributor on posts tagged with that author. (Select Show and add Author is [Contributor’s Name].)
* If you’re an author, hide the custom Image Widgets linking to your books on your “Books” page to avoid duplicate information. (Select Hide and add Page is Books.)
* Hide the widget displaying your blogroll on a “Favorites” page, which may also be full of links. (Select Hide and add Page is Favorites.)
I was playing around with the visibility settings a little bit today. I found it useful for the sidebar to be visible for the pages and posts. It’s very easy to navigate back and forth, when the options are handy on the right hand side, rather than using the back button or having to scroll endlessly.
The “hide” and “unhide” is an great option, if you have specific widgets and it was great to have learnt the how-to today:)
Keep calm and keep on blogging!